skywalker
Jedi Master
Sorry to keep asking, did you ever finish the Rancor pit Bram..?
Bramistuta25 said:No mate.
It's upstairs in my mums now as unfortunately Tim sold up and it was meant for him so there is no rush to get it done.
Cheers
Bram


")


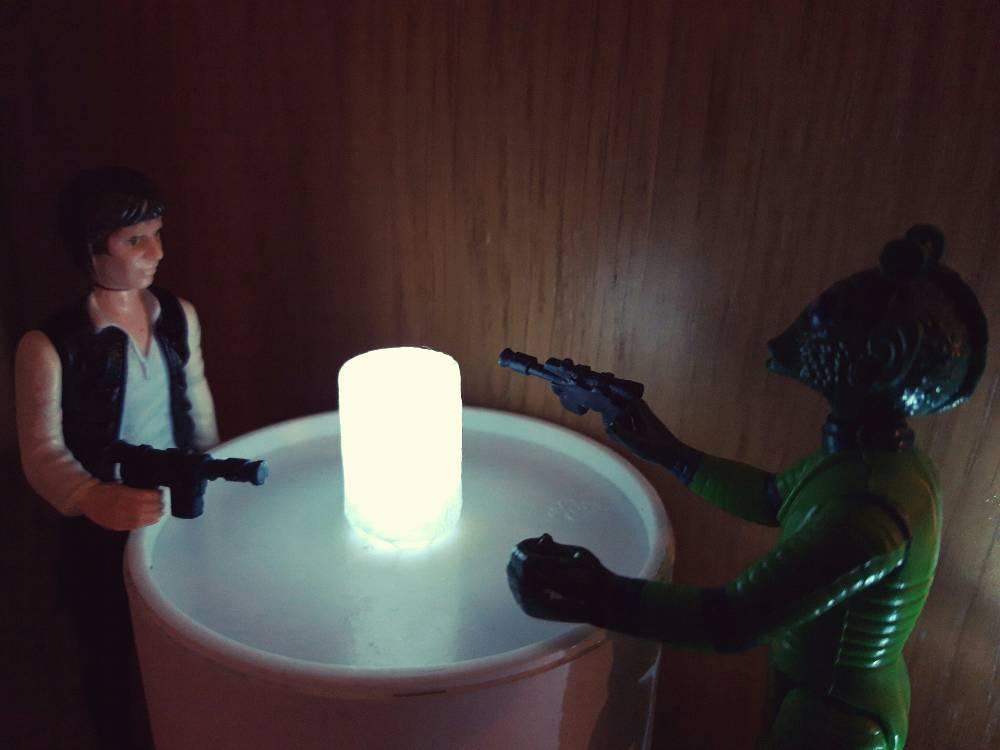
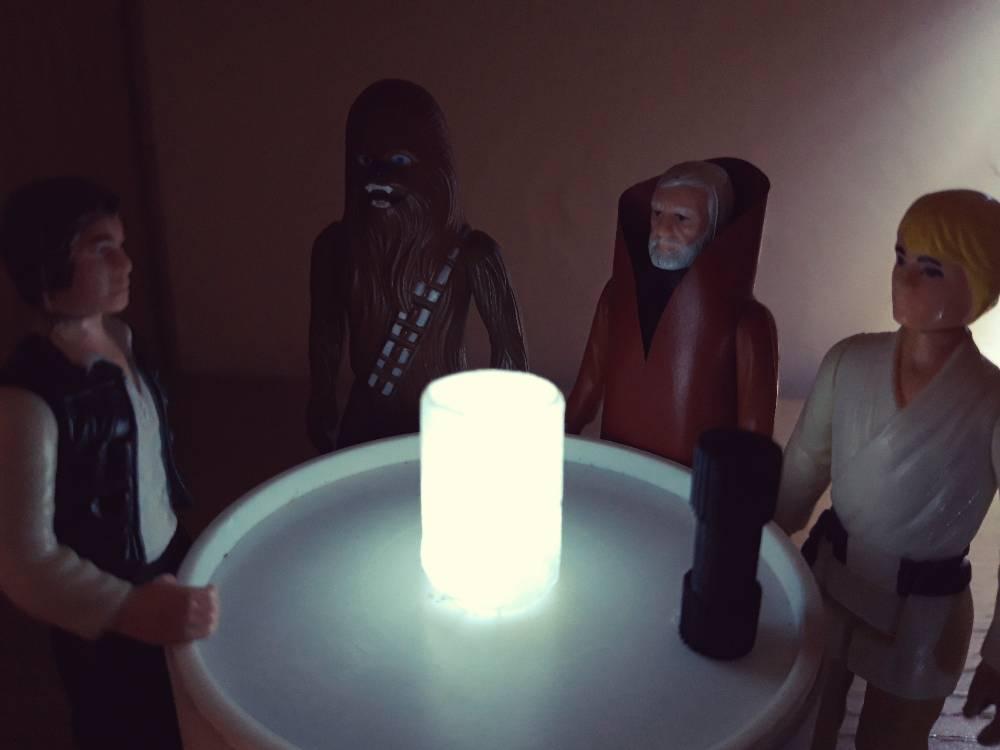
poncho said:cantina scenes
thanks boys


Robstyley said:I helped my daughter make this cave for a dinosaur school project but I just couldn't resist..! The child in me had to put some figures on it.
5960CBDD-A06F-41E6-A23F-B0B674D9A99D.jpeg
EF9FEB56-8F23-47AD-9C22-FF14CCB544ED.jpeg
36804746-CF46-4828-9FFA-82DC1DB3CB9D.jpeg
9127C4F2-83F2-4362-9827-C93F29B92765.jpeg
A100BF6D-3FCB-44CE-AE7D-73CAA65922ED.jpeg
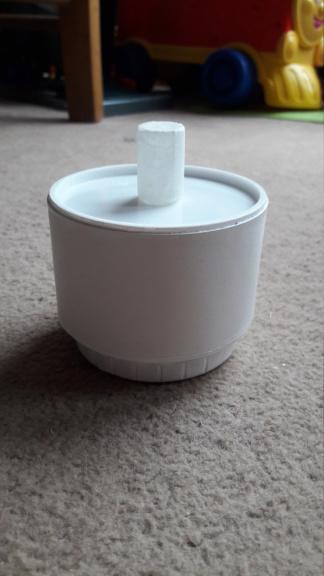
niceOllyOrc said:2 sheets, 1 box
17Best.jpg
19.JPG
18BEST.jpg
OllyOrc said:2 sheets, 1 box
17Best.jpg
19.JPG
18BEST.jpg
mostly polystyrene from the local supermarket bins The polystyrene and cardboard effect classicbosk70 said:OllyOrc said:2 sheets, 1 box
17Best.jpg
19.JPG
18BEST.jpg
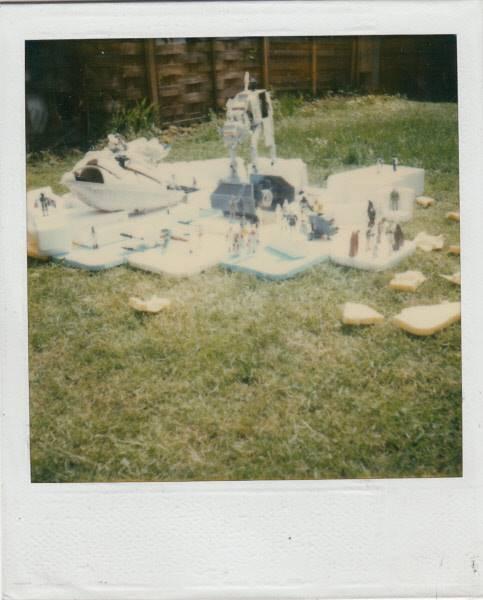
nice dioramas all, the imagination is 50% of any diorama, this hoth one reminds me of my garden hoth set up circa 1981